Using PowerPoint games are wonderful! They can truly enhance any lesson and kids love it. The first time I used one, my students were engaged the entire time! I know it was something I definitely wanted to invest in. If you’re unsure about using PowerPoint game, read “Getting the Most of out PowerPoint Games” here.
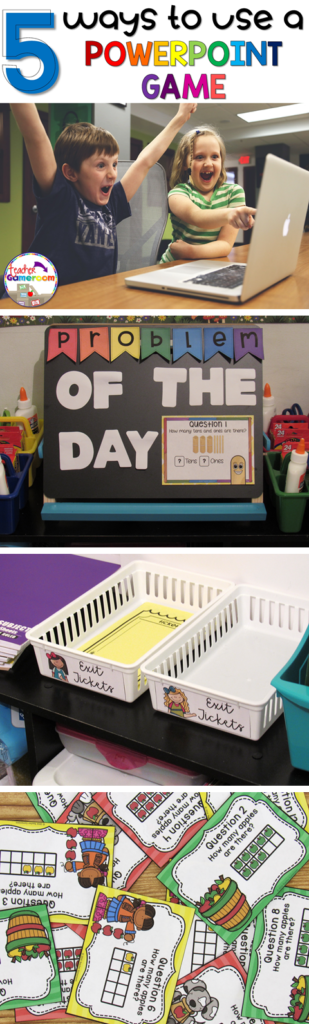
But did you know there’s more than one way to use them? I was messing around with some games and learned a few things I’d love to share with out. If you don’t have an interactive board, tablet, or Smartboard or a even a classroom computer, this is the post for you! Here are 5 ways to use a PowerPoint game.
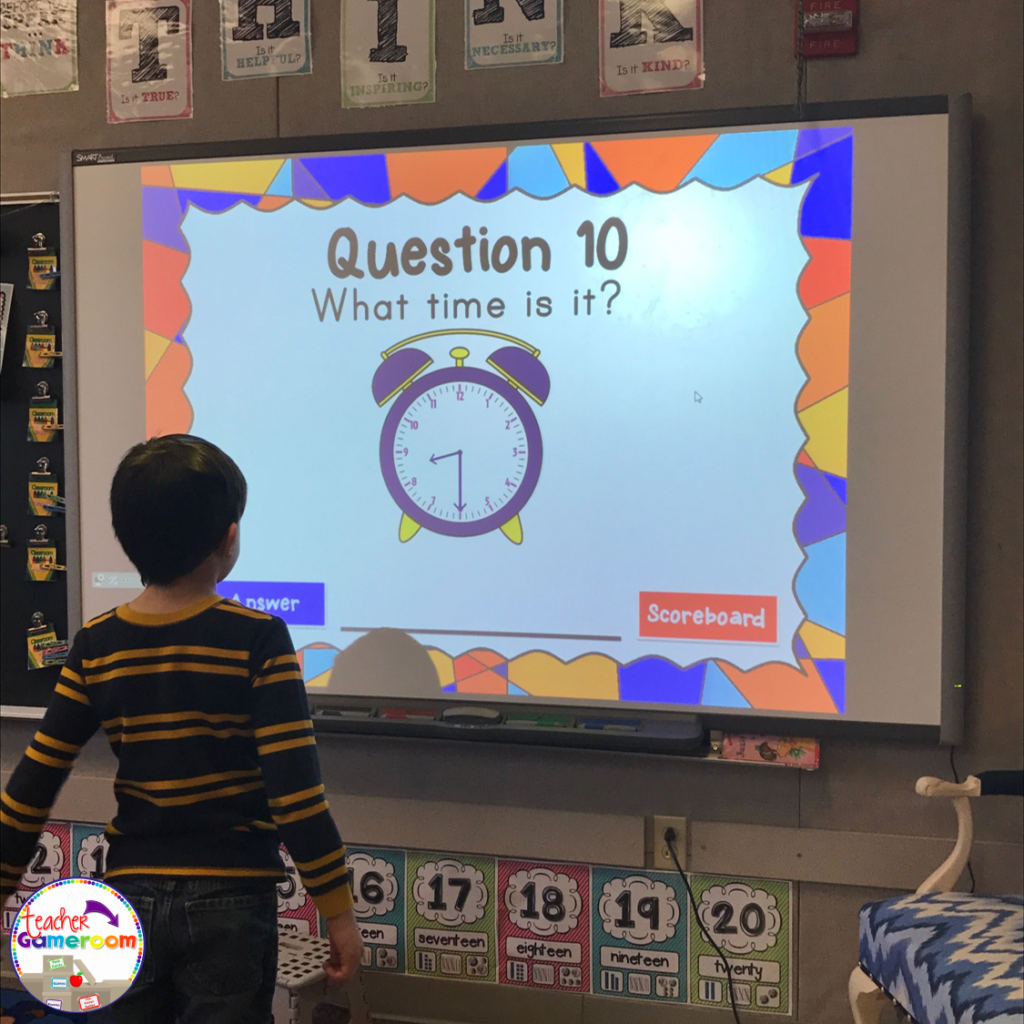
1.) The Traditional Way No explanation needed here. PowerPoint games can be used on any device that has Microsoft PowerPoint or Microsoft PowerPoint Viewer (FREE). Just load it up and your ready to go. NO PREP NEEDED. Such a timesaver and great for centers. Learn about this game in this blog post: Time to the Half Hour PowerPoint Game
2.) Exit Ticket If you use exit tickets, you’ll love this! Exit Tickets are questions given to students at the end of a lesson to test the knowledge and understanding of that lesson, usually in the form on 1 question on a small piece of paper. The student turns it in and later, the teacher checks it to see which of their students understood the lesson. Learn how to use EXIT TICKETS here: How to use Exit Tickets in the Classroom
You can use the questions from a PowerPoint game just for that! Print out one question for each day of the topic you’re teaching. Click on the print button and print “4 slides per page”. Make copies and cut them out. Use one question each day as an exit ticket. Most games I create have 20 questions. That’s a whole month’s worth of tickets for one topic!
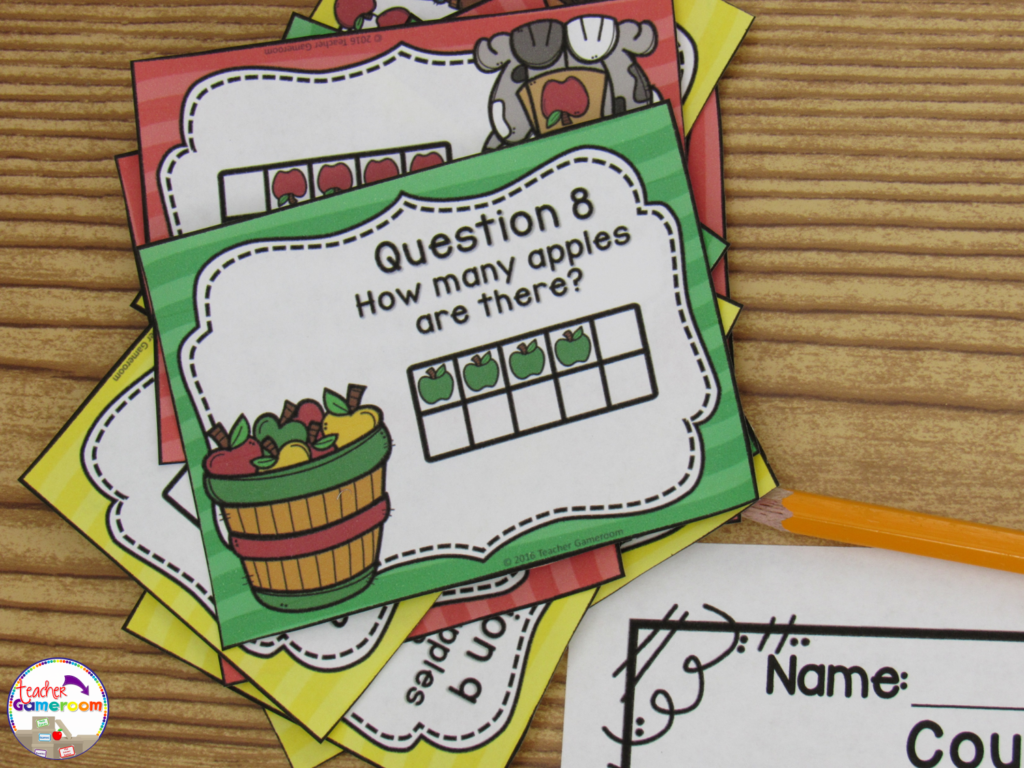
3.) Task Cards
Task cards are cards that have one question on each card. Students answer the question and write their response on a recording sheet to turn in to the teacher.
PowerPoint games can be turned into task cards with a just a few clicks. Did you know you can print PowerPoint games? You can print PowerPoint games by printing “Handout – 4 Slides per page”. Cut and laminate that cards. Store them in mini boxes or on book rings.
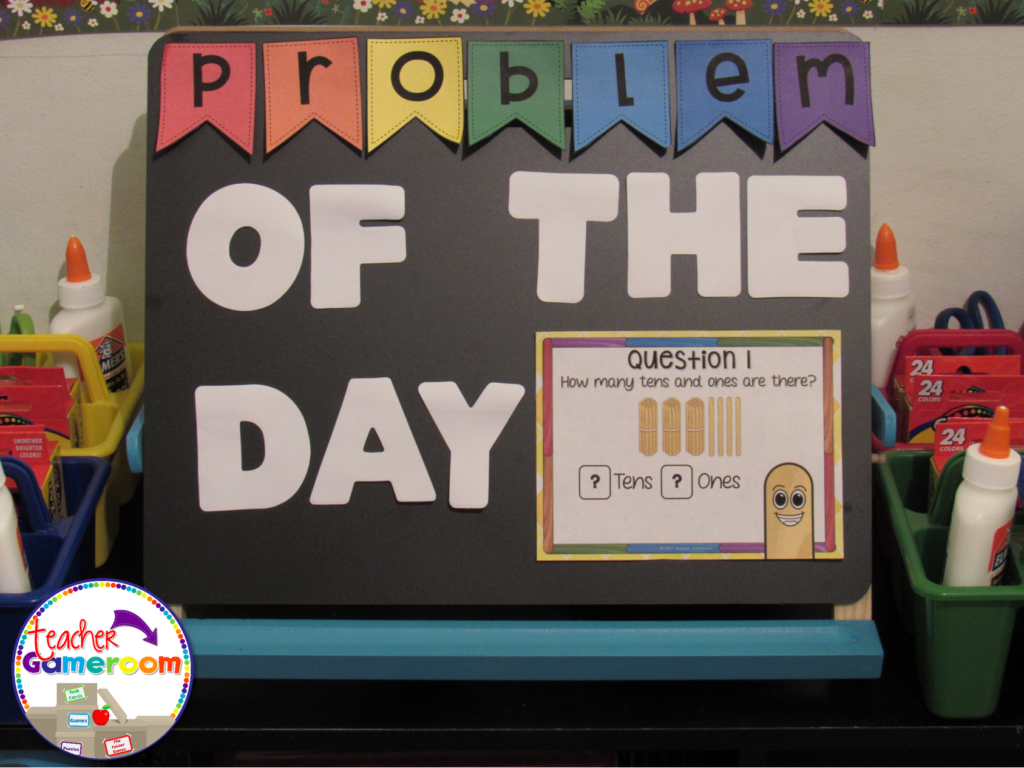
4.) Problem of the Day Conversely to exit tickets, you can use PowerPoint games questions as a problem or question of the day. Print and post each question before the start of any lesson. Print “Handout – 2 slides per page” in Google Slides.
5.) Scoot/Walk the Room Scoot is a popular game where students move from chair to chair answering a single question. Walk the Room is similar in that students walk around the classroom, finding and answering questions. You can print out questions and post them around the room and or on students desks. If you have student computers, you can still play! Students just move from computer to computer.
There are even more ways to use powerpoint games. Try some of these activities out with freebies in my store. Let me know how you use your PowerPoint games. If you need help with any of my games, I’d be happy to help!
Homework, homework. HOMEWORK! What can I say. It’s what we as teachers use to assess students when they’re not at school. Sometimes it can be stressful. The better you manage it, the easier it will be for you! Here are some tips for getting the most out of your homework folder.
1.) Buy a sturdy poly-folder!
As teachers, I know you’re eyeballing those $0.17 (or even those $0.01) folders at the store. As tempting as it is to grab all of them some of them for your class, try getting more durable folders. Remember, these folders will be used all year long. Paper folders will tear about half way through the year (especially for those messy students). Grab those poly-folders which will last so much longer.
2.) Include a Money pouch!
My nephew’s teacher did this and I loved it! It’s great for younger students, especially K-2. Buy a zipper pouch to place inside the folder. Add a label or write “Money Pouch” on it. This pouch is used to transfer money to and from school. Great for lunch money, book fair money, or any time a student needs to bring money to school.
3.) Include a daily behavior chart!
When I taught 2nd grade, I used to send home weekly progress reports every week. It was hassle to print them out and place them in individual folders. Now I include a monthly calendar with a daily record of the student’s behavior. I use bingo daubers from the Dollar Tree to dauber the color the student is on. When my student helpers passes out homework, I daub folders during pack up. It’s great because most students are on blue and only a few are one other colors. Also, students are not allowed to put the folder away until I daub their chart and check to see if they have their homework.
4.) Include a Reading log!
Every student should read each night. I usually have students read one of their library books or one of their Bag-Books. If they have neither, I have them practice their sight words. Adding a reading log can help you and their parents keep track of the books they are reading (and which of your books a student has). *Bonus* – If you don’t think you need a money pouch, make it a reading pouch!
5.) Designate each side!
Most folders have two pockets. You can also purchase multi-pocket folders or create your own. Designate each side for certain papers. One side can be for homework and the other can be for take-home paper. You can label one side for Math and the other side for Reading. You can even glue an envelope on one side to hold sight words and flash cards.
6. Include a signature page! Keep up with who’s viewing the folder. One year I had a parent who always signed their child’s homework every day. Having a parent or guardian sign the folder helps build the communication between school and home. You can even include a comment section to leave notes for parents or notes parents can write.
I hope these tips come in handy as your start your school year. Be on the lookout for those poly-folders as they tend to disappear the closer school starts. You can also pick up all the sheets featured in this post by clicking the image below: