Using PowerPoint games are wonderful! They can truly enhance any lesson and kids love it. The first time I used one, my students were engaged the entire time! I know it was something I definitely wanted to invest in. If you’re unsure about using PowerPoint game, read “Getting the Most of out PowerPoint Games” here.
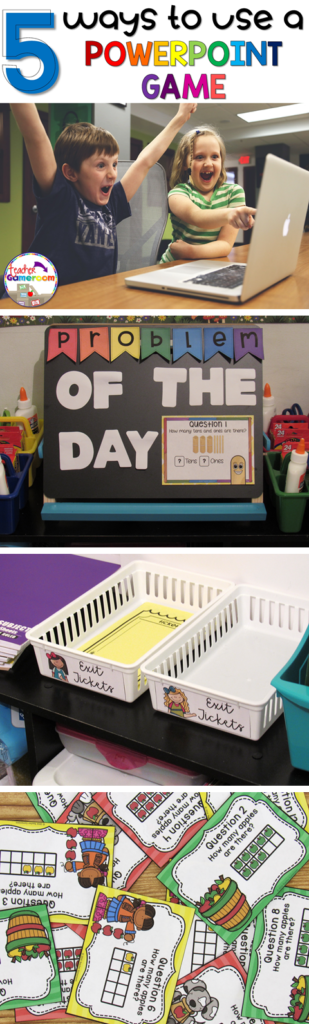
But did you know there’s more than one way to use them? I was messing around with some games and learned a few things I’d love to share with out. If you don’t have an interactive board, tablet, or Smartboard or a even a classroom computer, this is the post for you! Here are 5 ways to use a PowerPoint game.
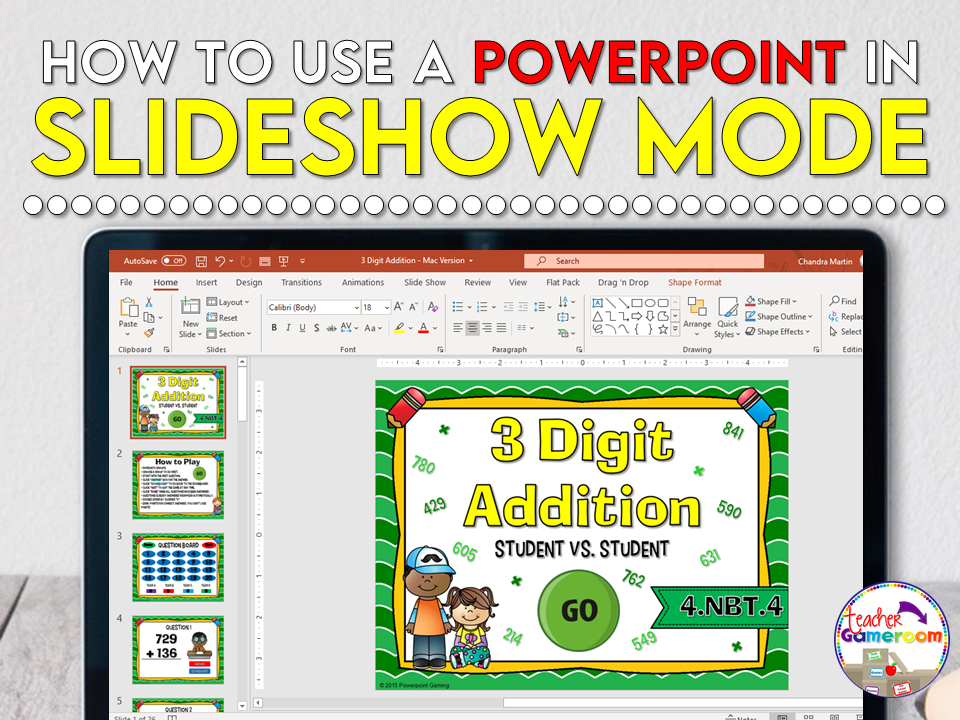
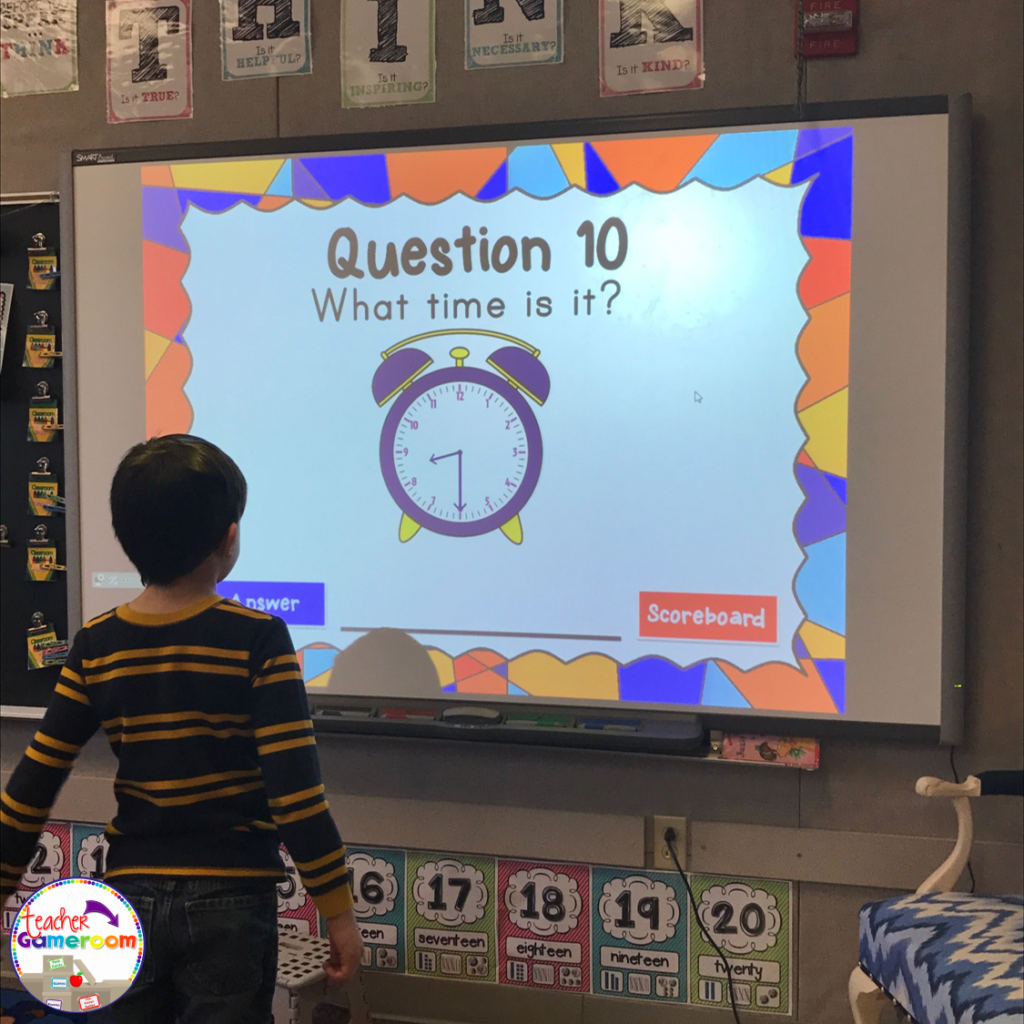
1.) The Traditional Way No explanation needed here. PowerPoint games can be used on any device that has Microsoft PowerPoint or Microsoft PowerPoint Viewer (FREE). Just load it up and your ready to go. NO PREP NEEDED. Such a timesaver and great for centers. Learn about this game in this blog post: Time to the Half Hour PowerPoint Game
2.) Exit Ticket If you use exit tickets, you’ll love this! Exit Tickets are questions given to students at the end of a lesson to test the knowledge and understanding of that lesson, usually in the form on 1 question on a small piece of paper. The student turns it in and later, the teacher checks it to see which of their students understood the lesson. Learn how to use EXIT TICKETS here: How to use Exit Tickets in the Classroom
You can use the questions from a PowerPoint game just for that! Print out one question for each day of the topic you’re teaching. Click on the print button and print “4 slides per page”. Make copies and cut them out. Use one question each day as an exit ticket. Most games I create have 20 questions. That’s a whole month’s worth of tickets for one topic!
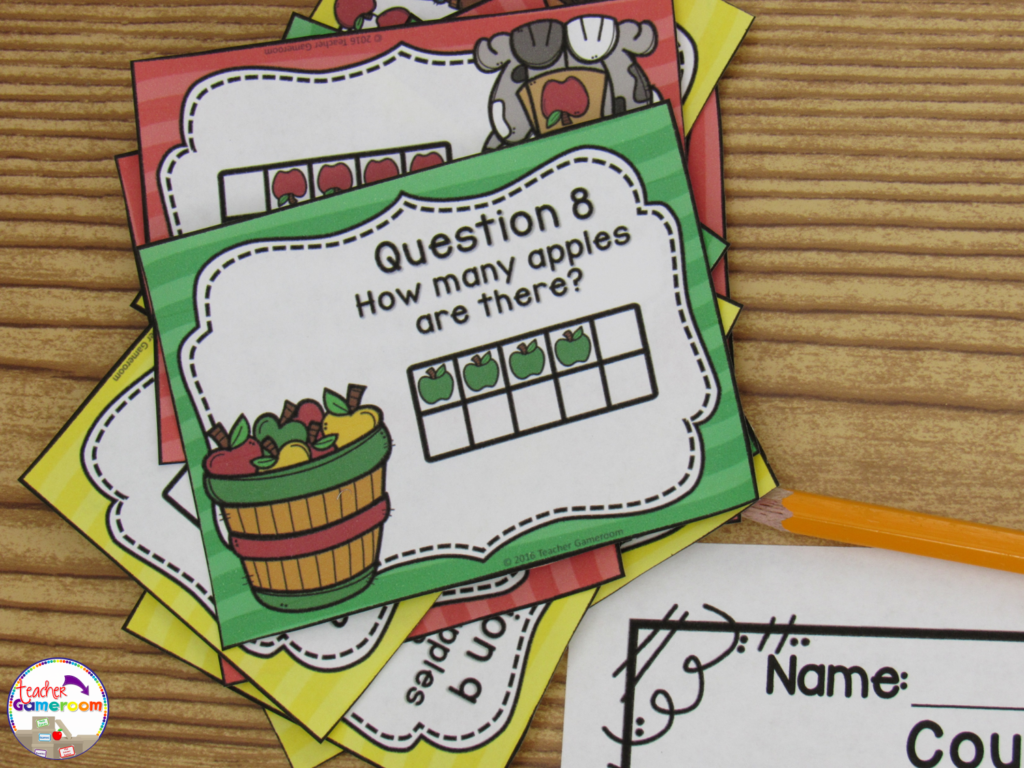
3.) Task Cards
Task cards are cards that have one question on each card. Students answer the question and write their response on a recording sheet to turn in to the teacher.
PowerPoint games can be turned into task cards with a just a few clicks. Did you know you can print PowerPoint games? You can print PowerPoint games by printing “Handout – 4 Slides per page”. Cut and laminate that cards. Store them in mini boxes or on book rings.
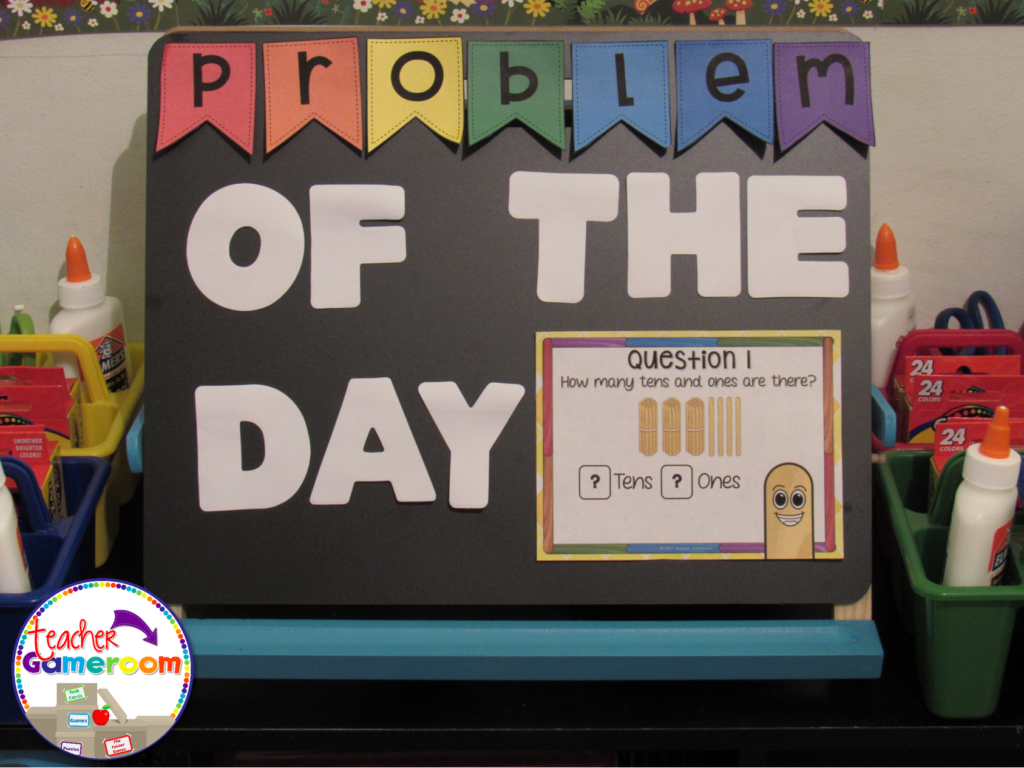
4.) Problem of the Day Conversely to exit tickets, you can use PowerPoint games questions as a problem or question of the day. Print and post each question before the start of any lesson. Print “Handout – 2 slides per page” in Google Slides.
5.) Scoot/Walk the Room Scoot is a popular game where students move from chair to chair answering a single question. Walk the Room is similar in that students walk around the classroom, finding and answering questions. You can print out questions and post them around the room and or on students desks. If you have student computers, you can still play! Students just move from computer to computer.
There are even more ways to use powerpoint games. Try some of these activities out with freebies in my store. Let me know how you use your PowerPoint games. If you need help with any of my games, I’d be happy to help!
Welcome to my 5-part series of “5 Fantastic Tricks & Tips”. This series shows you some awesome tricks and tips for building your PowerPoint presentations. Posts go up every Wednesday.
Today, I’ll show you all about alignments.
What do I mean by alignments? In terms of PowerPoint, it’s where objects, pictures, and text boxes are located on a slides. It can be on the left or right side, the bottom or top, or in the center. If you like to have all your objects perfectly aligned, this is the tool for you. Making sure everything is straight can be nerve-wrecking, but with a few clicks, everything will be as you like it.
To align objects, first select the objects you wish to align. Next, click on “Format” and choose how you wish to align your objects. There are many options to choose from.
There are several options to choose from. You can align objects to the:
left, center, right
top, middle, bottom
You can also distribute objects so that they are evenly spaced out horizontally and vertically. Simply click on all the object you wish to space out evenly and distribute horizontally or vertically.
Another way to help with alignment is to use guidelines on the slide.
Guidelines can be used to help place clip art and pictures onto a slide. The guidelines will appear on all the slides, but won’t appear when you print out the slides or play the PowerPoint in slideshow mode.
To turn on the guidelines, click on “View” and check the box labeled “Guidelines”. There’s also options for a ruler (similar to the ruler in Microsoft Word) or a guide (1 vertical and 1 horizontal line).
I hope these tips come in handy! They’re a big help when you create product covers, worksheets, games, and other teaching materials. Please share & comment if this was helpful Don’t forget to check out Part 1: Selection Pane and Part 2: Using Sections.