Imagine this: It’s the middle of the school year. You’re reviewing a hard subject and you kids are struggling. A test is coming up and it’s time to give a review before you give that big test. What are you going to do to review that’s fun and engaging. Kids love Jeopardy games, but how do I find the right one, especially for the content I teach?
I’ve run into this problem many, many times. I think every teacher should know, at least, the basic skills needed to make a jeopardy powerpoint game. Take that old test and make a review game out of it.
Here’s how to create a 3 category Jeopardy game in 7 easy steps.
1.) Figure out the questions. If you’re familiar with Microsoft Word, the Microsoft Powerpoint is very similar. To start making a powerpoint game, think about the questions you want included. Write them down on paper or in a notebook. I write my problems in a “Teacher Journal” I bought from the Dollar Tree. It’s so much easy to have them already figured out when you’re inputting them.
2.) Title Screen and Rules Start working on the powerpoint! You can make a slide for the title and rules if you like. Just about everyone knows what Jeopardy is so a rules page might not be necessary. I’ll make a simple Addition Game. Dress it up by changing fonts types and the color.
2.) Scoreboard Here’s the hard part. The scoreboard may very well be the hardest part. I think it’s pretty easy after doing it a few times. I used shapes for my boxes. Go to Insert>Shapes> Rounded Square. Input 6 of them.
Type in the appropriate text (ex. Category title, $100, $200, $300, $400, $500). Adjust the size, color, and font as you see fit.
Copy and Paste works wonders! Select all the boxes by dragging your mouse. Right click “copy” and “paste”. Move them as you like.
3.) Question Board
Now comes one of two hard parts: the question slide! This the part most teachers dread. But alas, if you have the questions already made, it can be a breeze! I suggest you start by creating just one slide and duplicating it. If you like, you can create all the slides you need (no answer slides in this tutorial). Add the title and the amount it is worth up to $500 (5 slides in all).
Again, the joys of Copy and Paste. You can select the 5 slides you created, copy and paste them twice. Change the names of the categories. Now add your questions! Create 2 text boxes: one for the question and one for the answer. Also, create 2 shape buttons named “Answer” and “Scoreboard”.
4.) Hyperlinking the scoreboard and questions The second hardest part. Hyperlinking allows you to click on a certain part of the powerpoint and it will take you somewhere else. This can be another slide, a website, or even to another document. In this case, we will hyperlink to another slide. Start by right clicking on the “scoreboard” button and click hyperlink.
A Box like this should appear. Next, click on “Place in the Document.” Find the “scoreboard” slide and select it. A picture of the slide should appear (red box). Click ok. You can test it out by going into slideshow mode and clicking on “Scoreboard”
If you are successful, repeat the same process for you scoreboard. Link each amount to its corresponding slide.
5.) Answer Animation
With the hard parts out of the way, the last thing to do it make the answers appear. Start by clicking “Animations” and “Custom Animations. A “Custom Animation” box should appear on the right side of your screen. Next, click on the answer to the question (not the answer button like the scoreboard button), click “Add Effect”, and choose and “Entrance” effect such as appear, blinds, or box.
It will automatically show you a preview. Choose your favorites. Last, we need to make the answer appear when you click on the “Answer” button. Click on the small down arrow on the Custom Animation box and click on Timing. once there, click on “Trigger”>Start Effect on click of”> Answer Button (whatever shape you chose).
6.) Disappearing Amounts
Lastly, let’s make those amounts you click on disappear after you click on them. Repeat the above step. Click on the amount, choose a custom animation, only chose “Exit” instead of “Entrance”. Change the trigger to the amount. Repeat the process for all the amounts. Test the animations by going into “Slideshow”
7.) Dress it Up
If all the hyperlinks and animations work, you can now customize it yourself! Create a background ground or add some clip art! Even add a “Double Jeopardy” or “Final Jeopardy” questions. Add some music or sound effects. Here are some backgrounds to get you started.
Don’t have time to make one? You can purchase editable powerpoint game templates! Each template comes with a powerpoint with all the links and buttons ready to go! All you have to do is add the questions and clip art!
I hope you’ve enjoyed this tutorial. Subscribe via email or bloglovin’ for more powerpoint tutorials, tips, and tricks. Check out my TPT Store for awesome Jeopardy games and other games too.
Here are some more tips for TpT Beginners. Have you ever finished a product and posted it? Ever thought if there was anything else you could do before moving on to the next product? Here are 7 Things you can do after you’ve posted a product.
1.) Schedule a facebook post.
After posting your new product(s) on TPT, it’s time to start advertising! One of the best places to start is Facebook. If you haven’t set up a facebook page for your store, do so. Post your product, giving a small description to viewers. Offer it half price to really catch them. Use the original picture of your product (the same cover picture you used on TPT). The bigger, the better and don’t forget the link. If you want, you can schedule the product to posted at a later date by clicking on the clock on the bottom left hand corner on your post. You can set it up as later as 5 minutes or 5 days from now.
2.) Have a Flash Freebie or Giveaway
Make your product as a flash freebie is a great way for buyers look at your product and get instant feedback. Flash Freebies can last anywhere from a few minutes to one day. Having a giveaway is also great too. It exposes your page to other viewers, especially if they share it or tag a friend.
3.) Pin it to Pinterest
Pin your product! Pinterest is free advertising for your product! Pin it to as many boards as you can! The more you pin it the more exposed your product becomes. Create a nice picture of your product that you upload from your computer. They look much better than if you pin it using the pin button from the product page. Try using large pictures or real-life pictures of your product in use.
4.) Back Up your Product
I can’t tell you how many times my products have jumped from one computer to another. Make sure your completed item is backed up and in a safe location. I recommend Dropbox because you can continue to work on it and it will automatically save to the web. You can also access it via the website from any computer. Other sites like Google Drive, SkyDrive, and MediaFire are great too.
5.) Add it to a “List of Inventory”
I keep track of every powerpoint game I make. Keeping a record of products helps me to keep track of the many games I have made. It gives me a reference. A place to go to when I need to know if I have made that particular product before. I keep a simple list of the item number, post date, and the product name. TPT also keeps a list of your products, but it nice to have a hands-on list whenever my computer or cellphone is unavailable and an idea comes to mind. I keep this list in a planner I created and use on a daily basis.
6.) Blog about it!
If you have a blog, write about it! Show buyers it works! The more pictures, the better. Showcase how it works and explain how it can be better for a teacher classroom. Whenever I am excited about a new product, I blog about it. When I created my first game that was not Math (All About Plants), I was estatic! It was the first game I had made since starting TpT that wasn’t a math game. I blogged about it. I continued to blog about new games that I think are awesome!
7.) Promote it on Social Media!
This is a given! I’ve already mention Facebook, Pinterest, and Blogs, but there’s so much more!! Tweet it! Instagram it! Add it to a Linky Party! Use the Seller’s Forum on TPT to promote it! Youtube it! Podcast it! Everyone has at least one of the social media sites I mentioned so why not put them to good use?
There are so many ways to get your products out there. Doing these things will surely increase sales and expose your store to others. I’ve included a mini poster with these steps to help you out in both color and black & white. Enjoy!
This is a brand new game I’ve created! Hopefully, it will be just as successful as my other games. Here’s the rundown of how to play this game.
There are 3 rounds in all. The problems get harder as the game goes on. Scores are added up each round for a final score.
Each game board a wheel with different amounts, 10 questions, and type in scoreboard. A spin button at the bottom allows you to spin the wheel.
Questions are simple in the beginning. As the rounds go on, the questions get harder. The titles are the top let you know which question and round you are in.
This makes a wonderful addition to your fractions review games.
Thanks you for the comments as I celebrate 900+ votes. In the short amount of time I started this celebration, I have almost reached 1000 vote. Be sure to look for my 1000 Rating Celebration, which will happened within a few weeks.
Here’s freebie no. 5. Fourth grade meaning factors and multiples!
Just like regular Ti-Tac-Toe, only you have to answer the question right to get your X or O. This one is closer to Hollywood square because this game is true or false.
For each question, students must chooses true or false. There is a “check” for correct responses and an “x” for incorrect. The title helps you by telling which game mode you’re in as well as which square you’re in. There’s even a picture to help you visually.
Clicking main menu will take you to the first slide (title page) and scoreboard takes you back to scoreboard. The blue square disappears, revealing an “x” and an “o”. Click on the shape to place it.
That’s all there is to it. You can play all three games or however you like. You don’t have to go through the first to get the next game.
The game modes are divided in sections. Game 1: 1 – 4, Game 2: 5 – 8, and Game 3: 9 – 12. The How to Use” button gives you directions on how to use this game.
The game I made for 3rd grade is a multiplication jeopardy game. Since “Jeopardy” is copyrighted, I had to name it “Multiplication Review Game”.
Since multiplication is a big part of 3rd grade and I haven’t made a jeopardy game solely for multiplication. There are 6 categories.
The amounts disappear as they are clicked on so you don’t have worry if you have used it or not. Scores can be typed in on the key board too! (All in Slideshow mode!)
The questions simple enough. It’s almost like a huge flash card, except that you don’t have to hold that huge stack of cards.
It even comes with a final question, which is beyond what the students should have to know, though that’s what makes it fun (and makes them think/work harder)
I created the backgrounds and graphics. The fonts. however, came from kevinandamanda.com.fonts. They have a wide variety of fonts and I mostly use their fonts for worksheets, but this time, I used it in a ppt game.
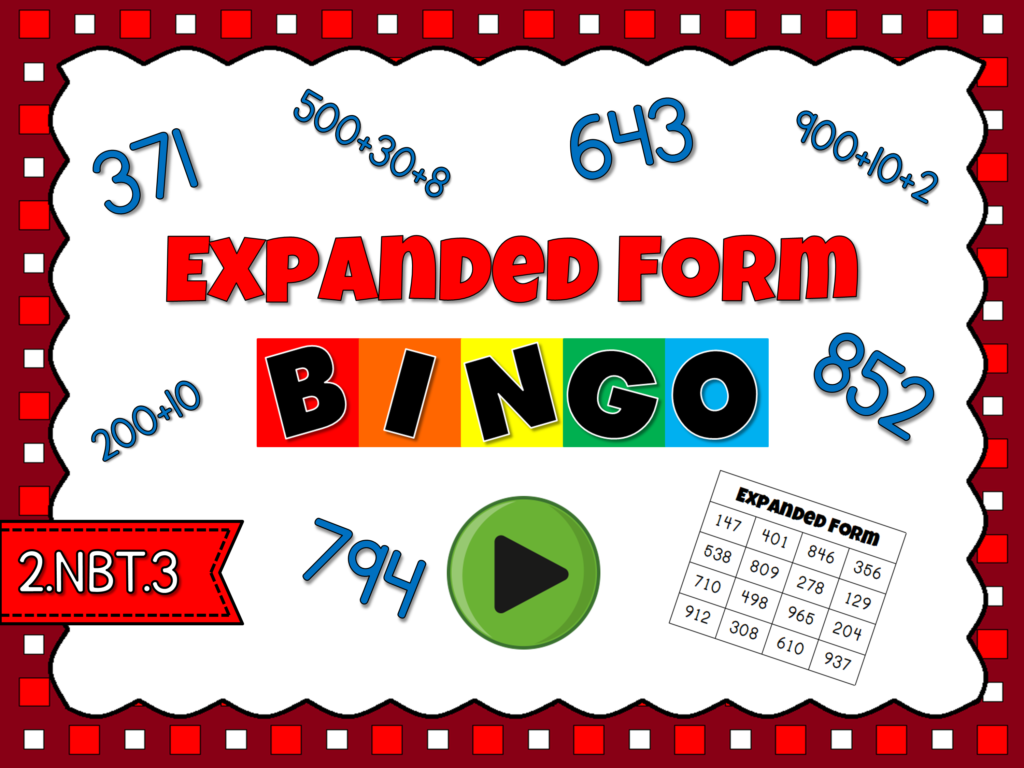
This is best Expanded Form Bingo Game I’ve used! While working with my 2nd graders, I wanted to review expanded form in a nontraditional way. After searching online and coming up empty, I decided to create my own. The game I made is a powerpoint bingo game: Expanded Form Bingo
This game has students covering 3 digit numbers that are in standard form. The number is in expanded form so they have to find that number form on their bingo cards.
There are 30 unique bingo cards. No two cards are alike. There are 4 cards per sheet, saving time and ink. All you have to do is print them out and cut the cards out. There aren’t any bingo chips, but dollar tree has a 100 pack for $1. Target also have some mini erasers that work great too. There is a call sheet for you so that you can mark the numbers as they are called.
The scoreboard itself has all the questions. You can choose where to start. The numbers aren’t in order so even if you decided to start with question 1, the answer won’t be like 168. I think the first number is 794.
There aren’t that many graphics, though I did create the background and border. Sometimes, you just need something simple to engage the students. This one was definitely one of them. My students enjoyed it so much, they asked to play it again the next day!